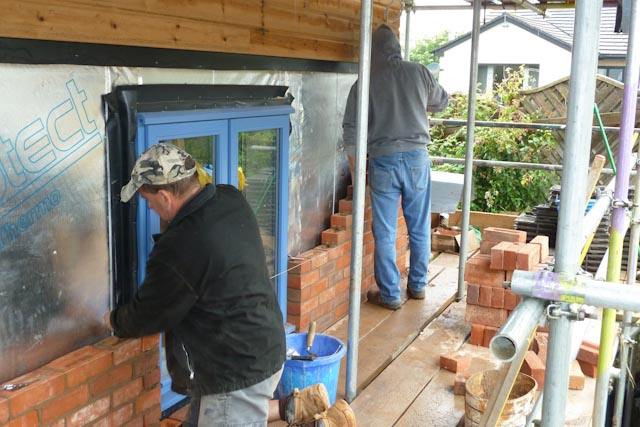
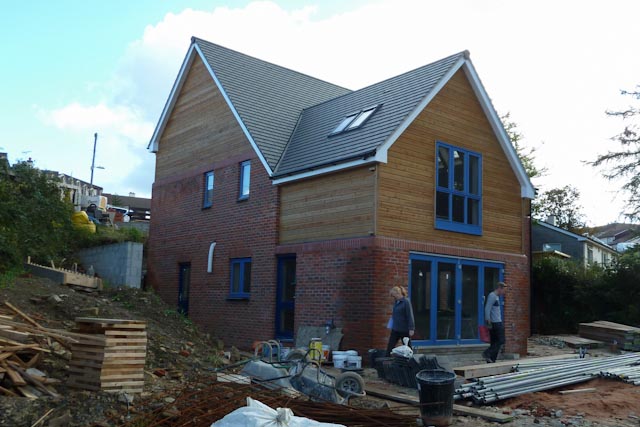
In July, the brickies had started laying the facing bricks on the outside of the house. I’d mentioned the difficulties of delivering bricks to site, and that we were then about to order special, cant bricks for the junction between the bricks and timber cladding. Nothing since has made any of that any easier, and the wonderful weather this summer has not helped.
As the bricks have gone up, we have been delighted with the look of the bricks themselves, and the job that Chris Cox’s men have done. The bricks dry (eventually, when the rain lets up for a while) to a varied light red. Whilst the rate of broken bricks is a bit high, there’s really nothing to suggest that they cost £200 less per thousand than the perfect article.
When the cants finally did arrive, the bricklayers could put on the final ‘soldier’ course. Ibstock, the brick manufacturer quoted 10 weeks delivery for cants in the Hamsey Mixed Stock brick, so we looked for an alternative. Ibstock suggested Cheddar Red, which is a more distinct red, and has a smooth (not sand-faced) finish. We thought that they would make a sufficient contrast to the Hamsey bricks, and decided to use them. So we ordered 700 cants, and a number of special specials for internal and external corners.
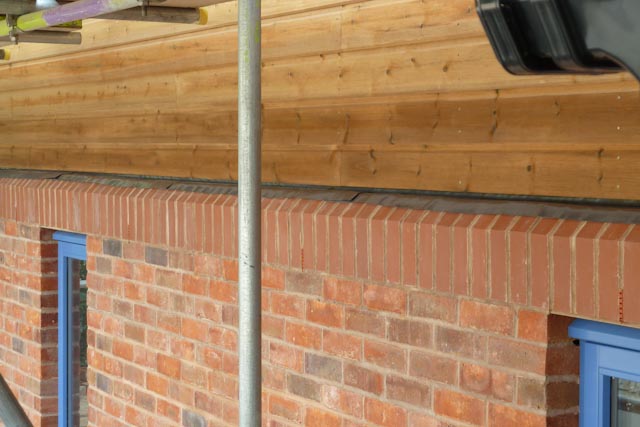
The picture shows the junction between the brickwork, with the cant bricks in place, and the timber cladding. The black strip at the junction is a lead flashing, to prevent water finding its way behind the cladding and into the wall cavity. Mark Allen did a nice job of cutting and laying the lead, finishing it with Patinating Oil. The corners were finished with fabricated leadwork…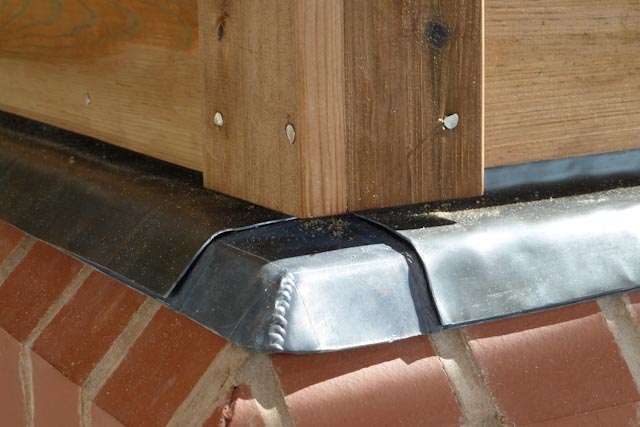
There is a lot of detailing in the junction between the cladding and bricks. Thanks Josh.
The Chimney
The major remaining piece of brickwork was the chimney, and the chimney breast in the lounge. We plan to install a
Stovax Riva Studio inset log-burning stove, and took advice from Mark Broadhead, from Kenwyn Stoves in Great Torrington. Mark made some helpful suggestions, and I drafted a design for the chimney, drawing on data from the Isokern website. Isokern make pumice flue liners, that are the standard way of venting a log-burner. The design is shown below:
Ultimately, something like this was built, though not all the dimensions are the same (!). The space between the brick outer chimney and the flue liner is filled with insulation material. Mark Broadhead’s recommendation was a material called LECA (lightweight expanded clay aggregate), a much more stable alternative to vermiculite. Rangemoors who supplied the Isokern liner suggested we needed 33, 25kg bags of LECA, which seemed an awful lot, but…
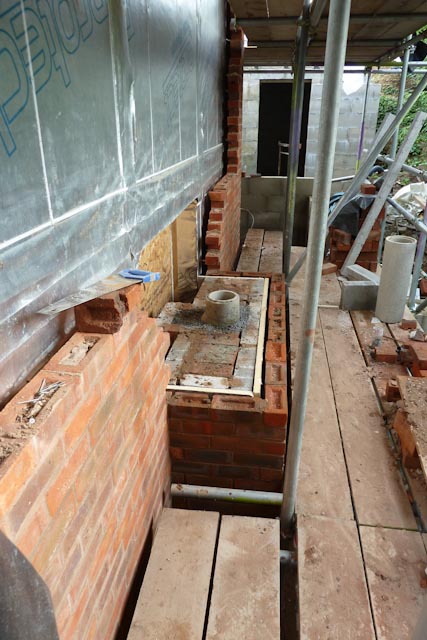
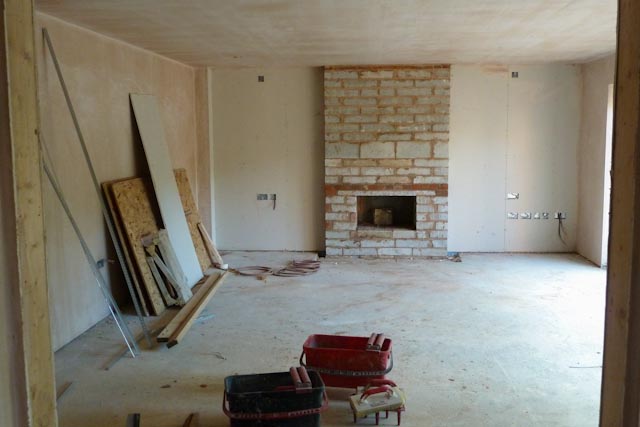
The chimney threw up a few problems with the brickies. First, they built the internal chimney breast in Twiggy mode – no projection at all. Fortunately, we caught that early, and relatively little rework was needed.
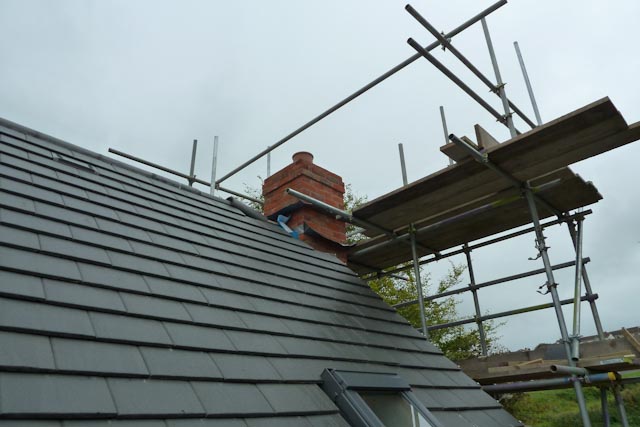
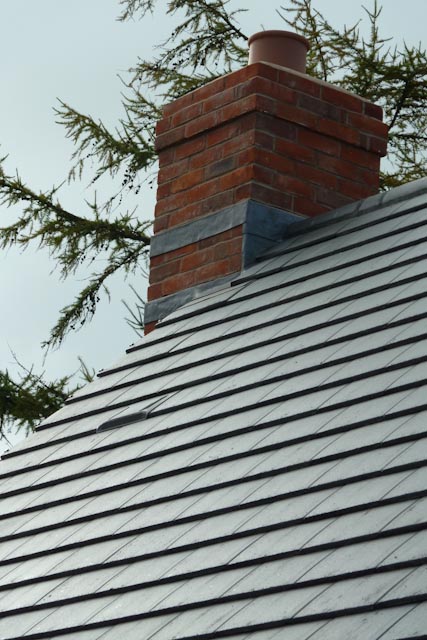
Then they needed the scaffold altered to clear the chimney as it went up. That resulted in a certain amount of tension around August Bank Holiday, which was only resolved when the scaffolders returned to adjust the scaffold. Eventually, then, the chimney popped up past the roof ridge, and gained a chimney pot. A Proper House at last!
At this point, we could schedule the removal of the scaffold. All that remained was for the roofers to finish the leadwork at the top of the chimney, and to complete the ridge there.
This ran right up to the wire, with the roofers at the very top of one end of the scaffold while Nick Curtis’s men dismantled the other side. But then, on Monday 17 September, the scaffolding came down!
For the first time, then, we could actually see the outside of our house.
