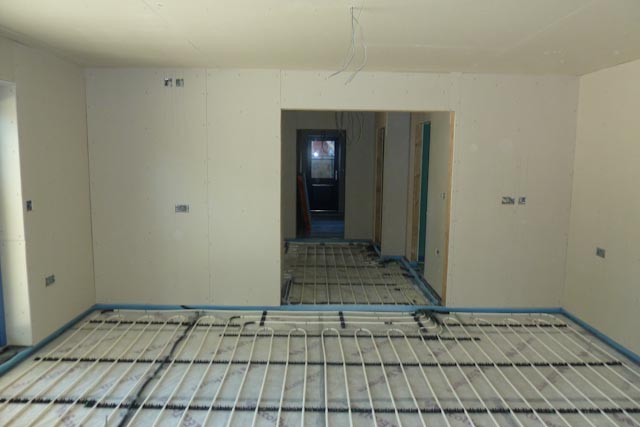
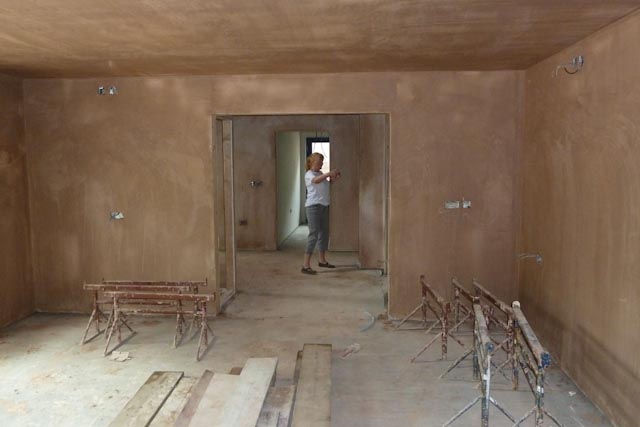
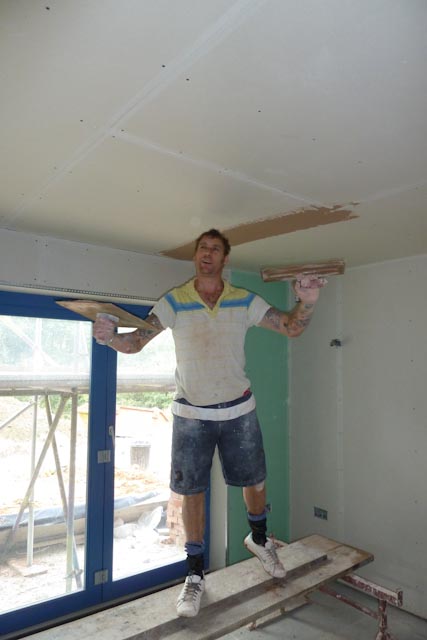
The last group of posts, at the end of July, had the house clad in scaffolding and work started on the brickwork outside, and all the walls lined with plasterboard inside. In the 6 weeks or so since then, a lot has happened. This is the first of three posts that bring things up to date now.
Since the end of July:
- The inside of the house has been plaster skimmed, and the ground floor has received its screed;
- The external brickwork has been completed, and the chimney and fireplace built
- The Scaffolding has been removed
- The ground floor has had its floor tiles laid, and the bathrooms have all been tiled
- The second-fix joinery is under way.
Then we all got plastered
At the beginning of August, Damian the plasterer started work on skimming all the internal walls and ceilings.
The building is dry-lined, and, in principle, we could have simply taped and jointed the plasterboard. This would probably have been a bit cheaper, and would have reduced the drying time, but, even if it’s done well, it is still really difficult to make the joints invisible after painting. I know that I would be sitting in my armchair, and the fact that I could see the evening sun (?) glinting off every joint in the plasterboard would ruin my gin and tonic. So, we bought an awful lot – 56 bags – of plaster, and Damian spent a happy week skimming the walls with it.
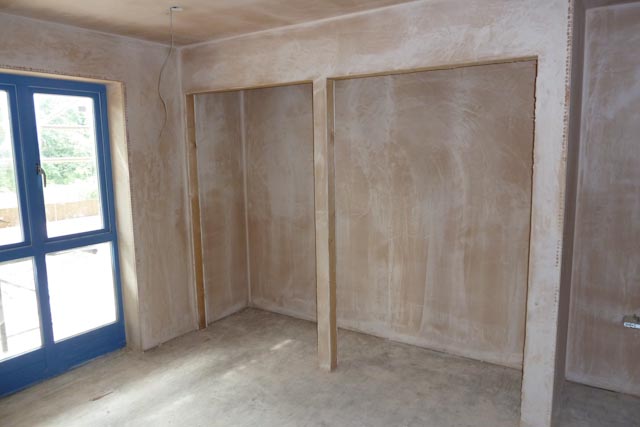
Whilst the transformation was not as great as the dry lining – where the rooms were formed for the first time – having uniform, smooth surfaces adds to the impression of a house, rather than a building site.
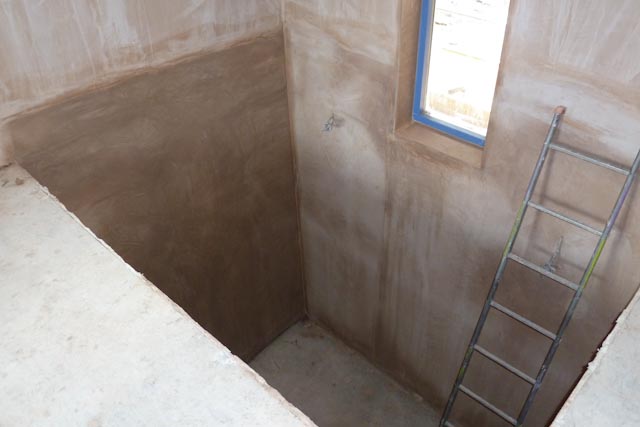
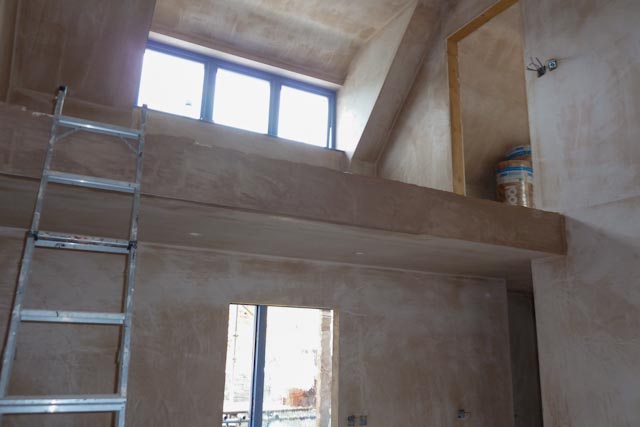
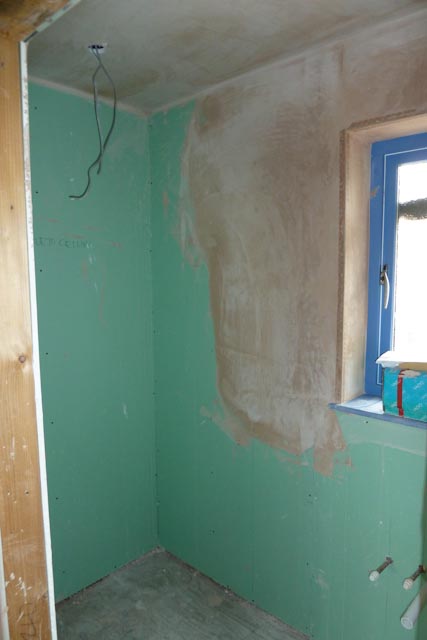
The other job that Damian organised was laying the screed on the ground floor.
This involved mixing cement and some of the 16 tons of sand delivered earlier, then pumping the resulting mix into the ground floor where it was spread 65mm thick all over the floor. This covered up the underfloor heating pipes, and once set, avoided the need for nifty footwork while walking around downstairs!
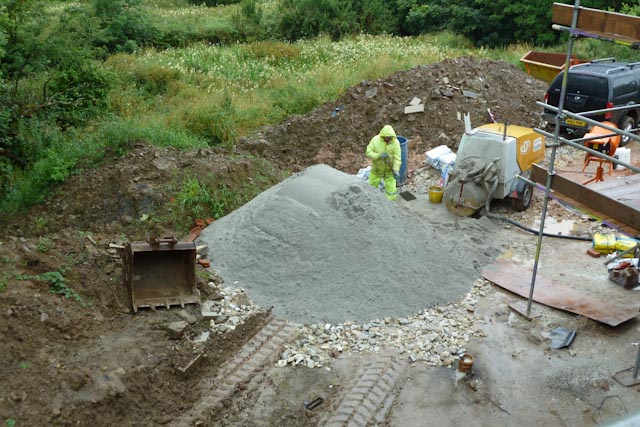
The mixer and pump is the yellow machine at the right of the picture. Needless to say, it was a Perfect Devon Day. Needless to say, too, that we were left with a good 2 or 3 tons of surplus sand. Still, it adds a little variety to the spoil Himalaya.
With the plaster skim finished as far as possible at this stage, and the screed down, work inside the house had to pause while things dried. The screed dries at about 2mm/day, so needs about 6 weeks before tiles can be laid on it. We tried to speed this up a bit by placing two industrial dehumidifiers in the house, running 24 hours a day. Nice idea, but one of the 2 machines had a leak, which meant that it dehumidified the kitchen straight on to the kitchen floor! Still, I suppose it reduced the area that still had to dry.
