Tiles, Doors and Joinery

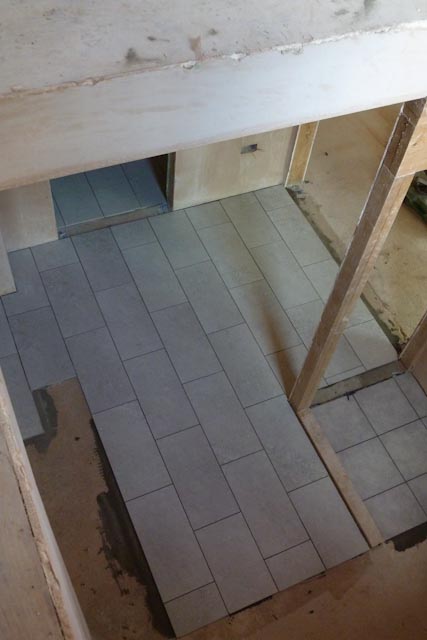
Now that the plaster and screed have had some weeks to dry, we can move on to finishing inside the house.  We had decided on porcelain tiles for the floor in the kitchen, dining room, downstairs hall , utility room and WC, and in the all-important plant room, and for floors and most walls in the bathrooms.  Before that could start, though, Ryan the plumber (or more correctly, his chap Liam)  had to fit the shower trays and baths.  That threw up one problem, when we found that En Suite 2 – the Guest Bedroom en-suite – had been built 100mm narrower than designed.  Too late to do anything about the walls, we had to change the shower tray from 1200×800 to 1100×900.  Dimensions are a bit tight, but it should be workable.

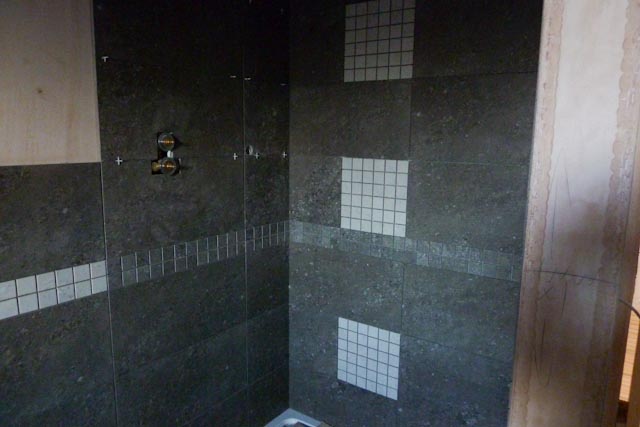
We selected two pairs of tile colours from the Gemini Hillock range (from CTD in Exeter) – Light Grey/Dark Grey and Cream/Mocca, and spent a fair time allocating the pairs of colours to floors and walls.  I transferred the results into a set of drawings, one per room:

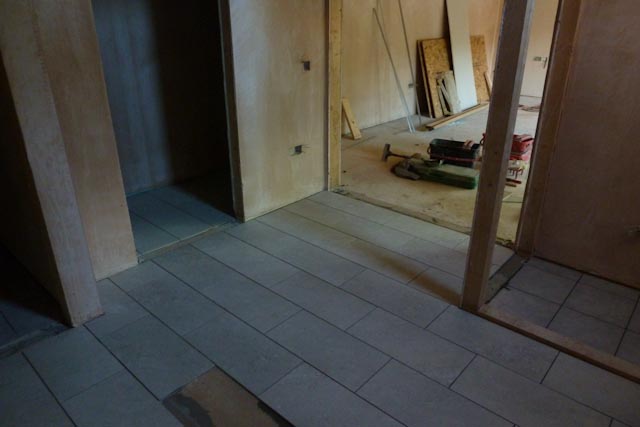
Jason Ogilvy very quickly tiled the ground floor, and moved on to the bathrooms.

The shower room
En Suite 1 – shower
En Suite 4

We’re delighted with the tiles – they have turned out exactly as planned, and Jason and his mate Ian have done a grand job, getting the right colours and the right grout for each colour.

Joinery

Potton delivered the 2nd fix joinery pack last week.  This contained all the internal doors, the door hardware and material for the door casings, architraves and skirtings.  Phil, the carpenter working for Andy Wilton, has been on site all week, fitting the doors and architraves.  The skirtings will be left until the oak floor has been laid through most of the house.

The doors look superb..
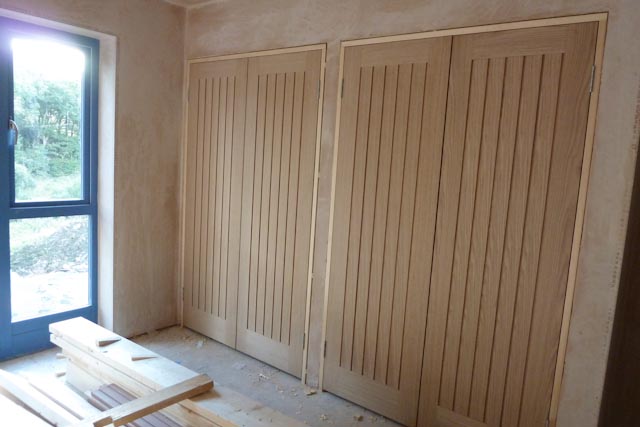
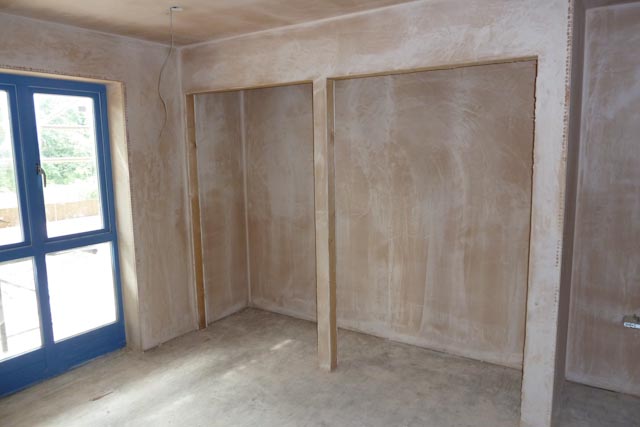
Wardrobe doors in the Guest Bedroom

Electricity

All this week, Tom, Matt and Paul have been in installing the electrical fittings.  We now have consumer units (fuse boxes) in the Plant Room and Loft, electrical sockets and switches throughout, and most of the light fittings, where we are using down lighters.  Western Power are scheduled to connect the house to the supply on 8 October – another significant step.

Kitchen

On Monday last, Complete Kitchens delivered much of the kit for the kitchen, and started on the installation.  They have had to pause while electricity and plumbing catch up, but the time has not gone to waste, as they have been manufacturing our Corian worktops.

Plumbing

Liam has been back again, installing the LPG supply for the hob in the kitchen, and adding some more water pipes.

Next

On Monday, the decorators come in to start waxing the doors with Treatex painting the walls, leaving only the final coat.  Monday also sees the delivery of 150m2 of engineered oak flooring, and work on the water supply to the house and drainage.  Exciting times, and still on programme to complete in late November.
 

Finishing the brickwork

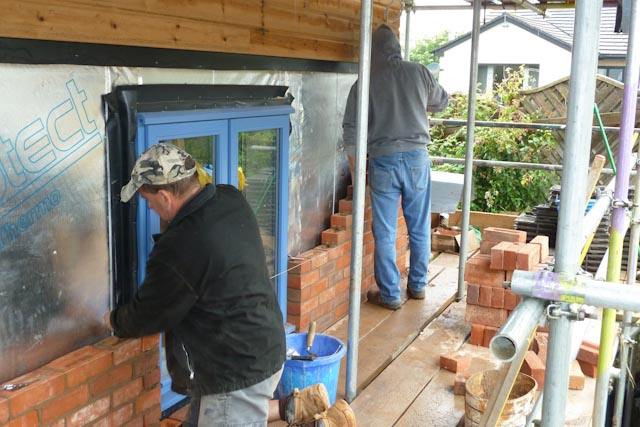
In July, the brickies had started laying the facing bricks on the outside of the house.  I’d mentioned the difficulties of delivering bricks to site, and that we were then about to order special, cant bricks for the junction between the bricks and timber cladding.  Nothing since has made any of that any easier, and the wonderful weather this summer has not helped.

As the bricks have gone up, we have been delighted with the look of the bricks themselves, and the job that Chris Cox’s men have done.  The bricks dry (eventually, when the rain lets up for a while) to a varied light red.  Whilst the rate of broken bricks is a bit high, there’s really nothing to suggest that they cost £200 less per thousand than the perfect article.

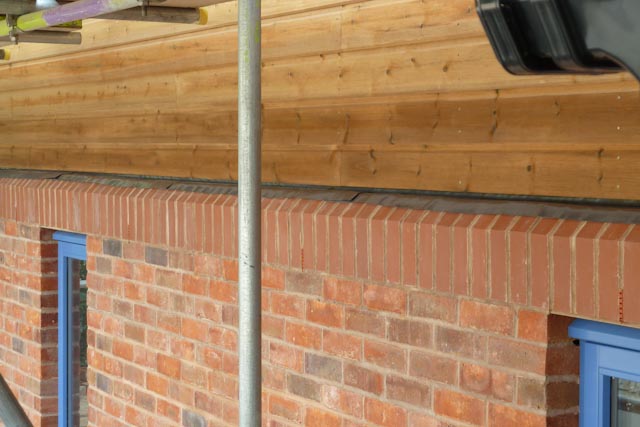
When the cants finally did arrive, the bricklayers could put on the final ‘soldier’ course.  Ibstock, the brick manufacturer quoted 10 weeks delivery for cants in the Hamsey Mixed Stock brick, so we looked for an alternative.  Ibstock suggested Cheddar Red, which is a more distinct red, and has a smooth (not sand-faced) finish. We thought that they would make a sufficient contrast to the Hamsey bricks, and decided to use them.  So we ordered 700 cants, and a number of special specials for internal and external corners.

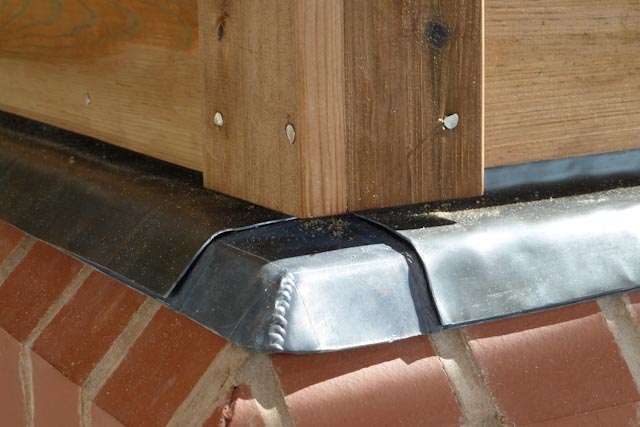
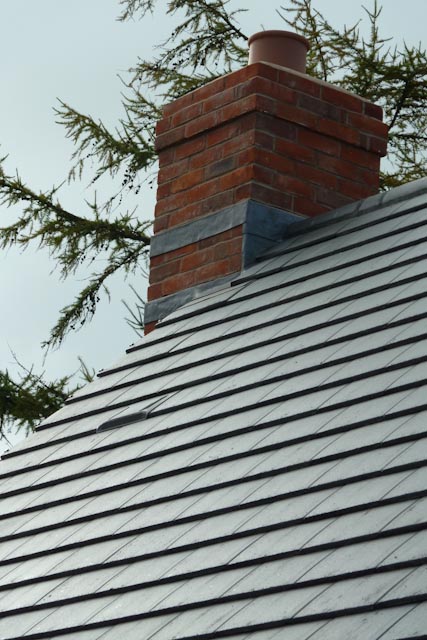
The picture shows the junction between the brickwork, with the cant bricks in place, and the timber cladding.  The black strip at the junction is a lead flashing, to prevent water finding its way behind the cladding and into the wall cavity.  Mark Allen did a nice job of cutting and laying the lead, finishing it with Patinating Oil.  The corners were finished with fabricated leadwork…

There is a lot of detailing in the junction between the cladding and bricks.  Thanks Josh.

The Chimney

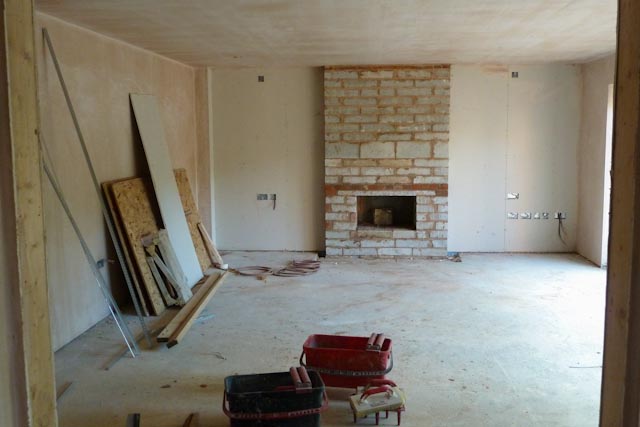
The major remaining piece of brickwork was the chimney, and the chimney breast in the lounge.  We plan to install a

Stovax Riva Studio inset log-burning stove, and took advice from Mark Broadhead, from Kenwyn Stoves in Great Torrington.  Mark made some helpful suggestions, and I drafted a design for the chimney, drawing on data from the Isokern website.  Isokern make pumice flue liners, that are the standard way of venting a log-burner.  The design is shown below:

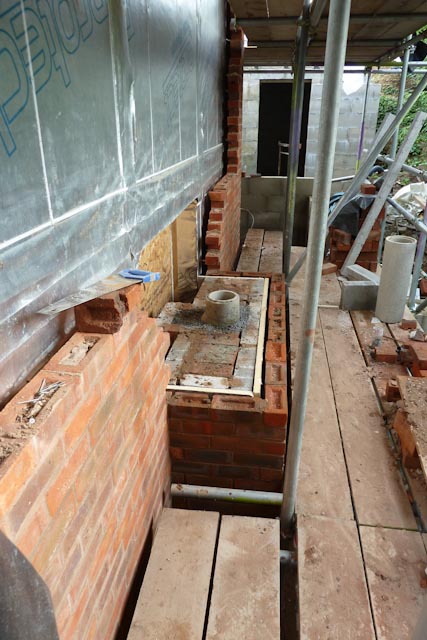
Ultimately, something like this was built, though not all the dimensions are the same (!).  The space between the brick outer chimney and the flue liner is filled with insulation material.  Mark Broadhead’s recommendation was a material called LECA (lightweight expanded clay aggregate), a much more stable alternative to vermiculite.  Rangemoors who supplied the Isokern liner suggested we needed 33, 25kg bags of LECA, which seemed an awful lot, but…

The start of the chimney, above the fireplace level. The Isokern liner is in the middle.

The chimney threw up a few problems with the brickies.  First, they built the internal chimney breast in Twiggy mode – no projection at all.  Fortunately, we caught that early, and relatively little rework was needed.

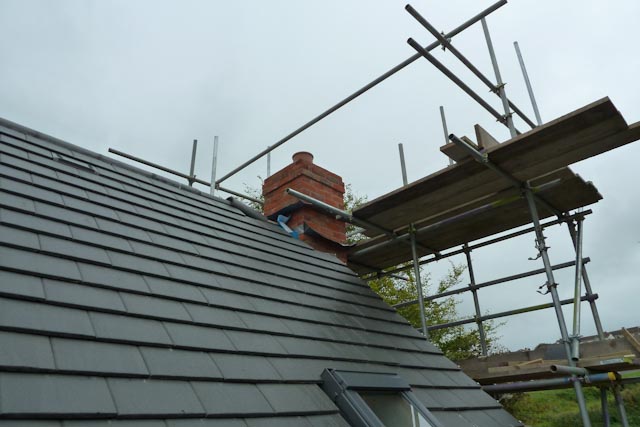
Then they needed the scaffold altered to clear the chimney as it went up.  That resulted in a certain amount of tension around August Bank Holiday, which was only resolved when the scaffolders returned to adjust the scaffold.  Eventually, then, the chimney popped up past the roof ridge, and gained a chimney pot.  A Proper House at last!

At this point, we could schedule the removal of the scaffold.  All that remained was for the roofers to finish the leadwork at the top of the chimney, and to complete the ridge there.

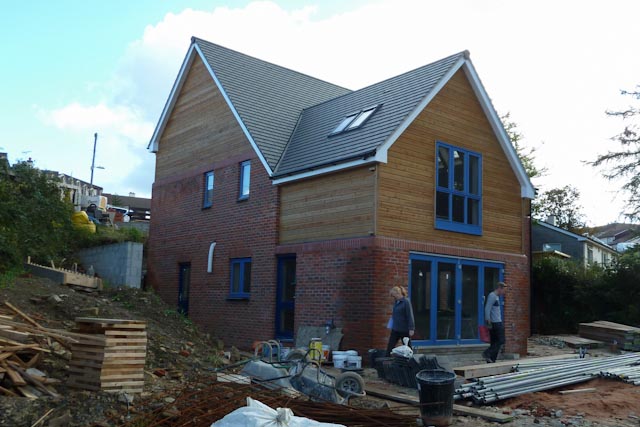
This ran right up to the wire, with the roofers at the very top of one end of the scaffold while Nick Curtis’s men dismantled the other side.  But then, on Monday 17 September, the scaffolding came down!

For the first time, then, we could actually see the outside of our house.

A lot has happened

The last group of posts, at the end of July, had the house clad in scaffolding and work started on the brickwork outside, and all the walls lined with plasterboard inside.  In the 6 weeks or so since then, a lot has happened.  This is the first of three posts that bring things up to date now.

Since the end of July:

  • The inside of the house has been plaster skimmed, and the ground floor has received its screed;
  • The external brickwork has been completed, and the chimney and fireplace built
  • The Scaffolding has been removed
  • The ground floor has had its floor tiles laid, and the bathrooms have all been tiled
  • The second-fix joinery is under way.

Then we all got plastered

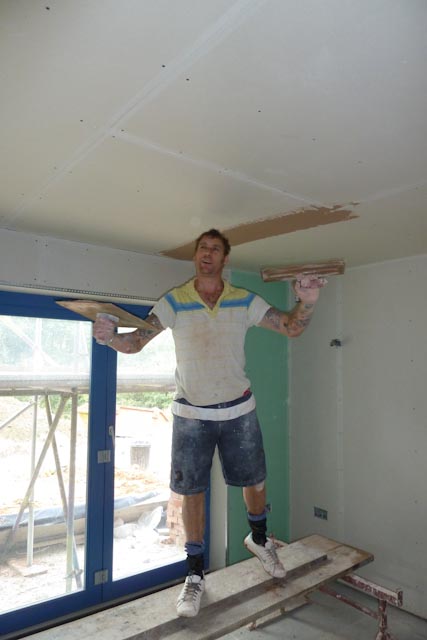
At the beginning of August, Damian the plasterer started work on skimming all the internal walls and ceilings.

The building is dry-lined, and, in principle, we could have simply taped and jointed the plasterboard.  This would probably have been a bit cheaper, and would have reduced the drying time, but, even if it’s done well, it is still really difficult to make the joints invisible after painting.  I know that I would be sitting in my armchair, and the fact that I could see the evening sun (?) glinting off every joint in the plasterboard would ruin my gin and tonic.  So, we bought an awful lot – 56 bags – of plaster, and Damian spent a happy week skimming the walls with it.

Whilst the transformation was not as great as the dry lining – where the rooms were formed for the first time – having uniform, smooth surfaces adds to the impression of a house, rather than a building site.

Wardrobes in the Guest Bedroom
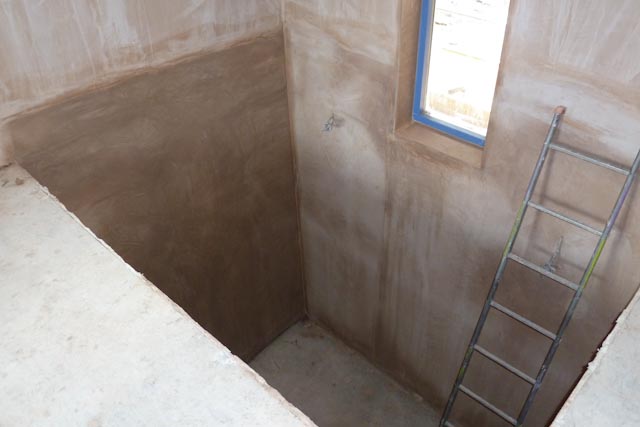
Looking down into the lower hall
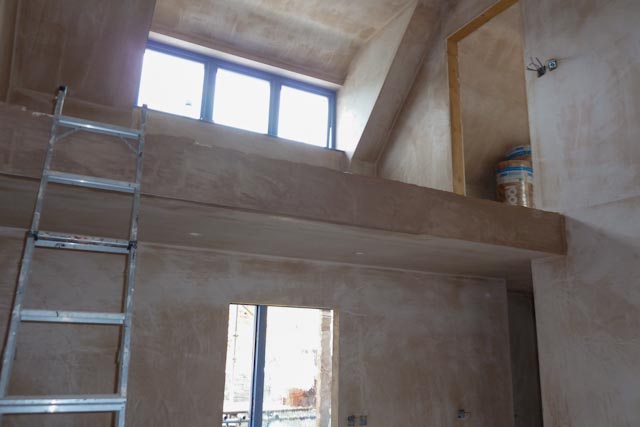
Hall and Landing
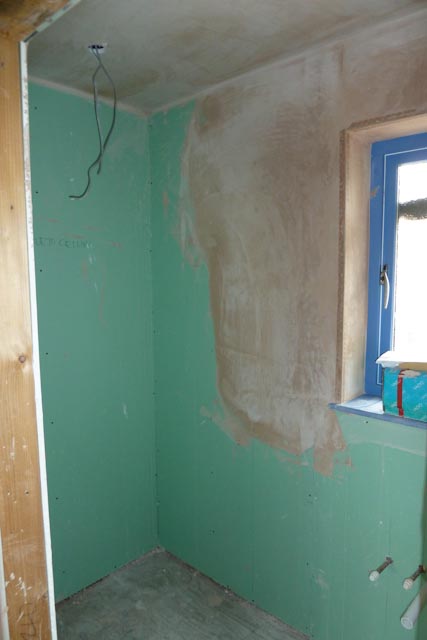
En Suite, showing partial plastering to allow for tiles

The other job that Damian organised was laying the screed on the ground floor.

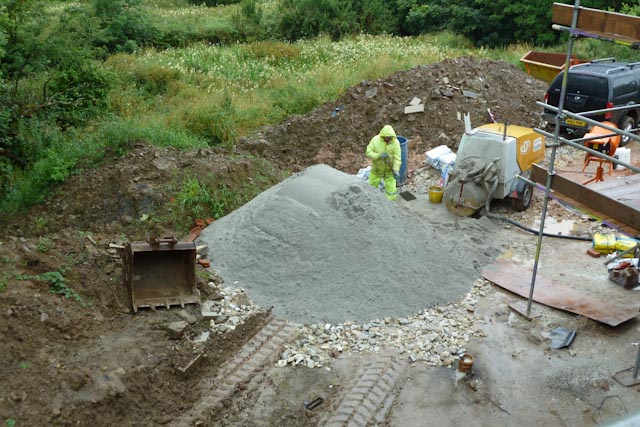
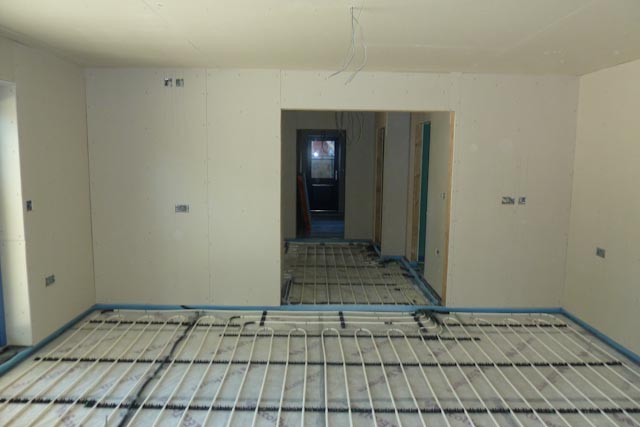
This involved mixing cement and some of the 16 tons of sand delivered earlier, then pumping the resulting mix into the ground floor where it was spread 65mm thick all over the floor.  This covered up the underfloor heating pipes, and once set, avoided the need for nifty footwork while walking around downstairs!

Mixing the screed

The mixer and pump is the yellow machine at the right of the picture.  Needless to say, it was a Perfect Devon Day.  Needless to say, too, that we were left with a good 2 or 3 tons of surplus sand.  Still, it adds a little variety to the spoil Himalaya.

With the plaster skim finished as far as possible at this stage, and the screed down, work inside the house had to pause while things dried.  The screed dries at about 2mm/day, so needs about 6 weeks before tiles can be laid on it.  We tried to speed this up a bit by placing two industrial dehumidifiers in the house, running 24 hours a day.  Nice idea, but one of the 2 machines had a leak, which meant that it dehumidified the kitchen straight on to the kitchen floor!  Still, I suppose it reduced the area that still had to dry.

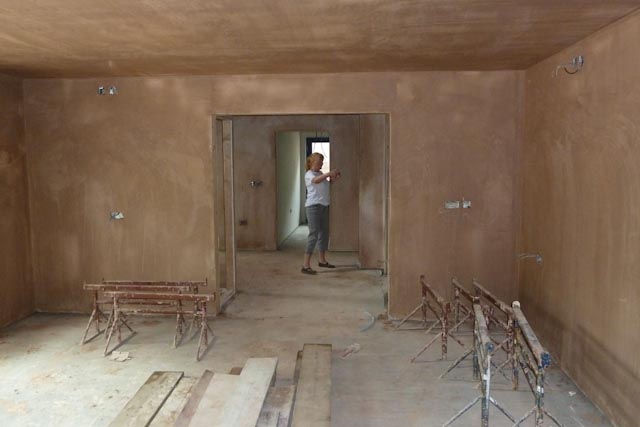
Lounge before…
…and after